Showing posts with label St. Patricks Day. Show all posts

Sunday, April 3, 2011

Spring Banners

So I was so lucky to be able to get away for a few days. My sweet husband took time off to watch the boys so I could go spend some time with my sisters and mom. It was so much fun. For one of our activities we made banners. Everyone's turned out so cute I'll post all of them.  Such an easy way to add some color and holiday decor.

Monday, March 7, 2011

Luck Banner

So i've seen so many cute banners around. Mine isn't nearly as cute. Scrapbooking is one area I could use some help in...  It's been awhile since I bought scrapbook paper, but has cardstock gone up? I went to by a 12x12 and it was like 60cents a sheet... what is that?!   so being the cheap person I am, I just went to the dollar store and bought a huge piece of poster board for 50cents... I know i'm cheap, but I wasn't about to pay 3 dollars for a stupid cardstock for a paper banner... anyway, I just traced a shamrock shape and cut it out... then using a black and white damask print scrapbook paper I did hearts to fill in the leafs. A simple circle with a white shamrock in the middle and then the letters are just cardstock. I hot glued the ribbon on the back... done... For 50 cents I'll take it!

Saturday, March 5, 2011

Pots of Gold

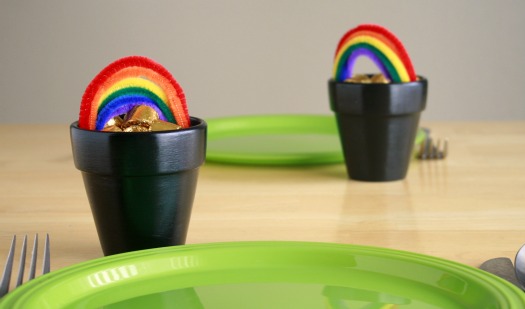
So I did my pots of gold inspired by make and takes mini pots of gold
I did change mine just a bit because I have my kids who turn into hulk around candy... so i had to make them a little more kid friendly. so here is what i bought. the plastic planters come in a pack of 4 at dollar tree. a foam sheet and pipe cleaners, I had the gold coins (from walgreens), spray paint and hot glue.......
So I spray painted my pots black. then stuffed them with napkins... There is no way I would fill these completely with candy...
 then on the foam sheet I traced half of the pot.
 folded in half
then cut them out.
 then get your pipe cleaners...
 Hot glue one pipe cleaner at a time, trimming the edges...
 then hot clue the bottom edge of the foam sheet and glue to the inside of the pot...
 add your gold coins... done....
Ethan is very opinionated and has a pot picked out that is HIS... so i need to label these some how.... any ideas?

Tuesday, March 1, 2011

St patricks day this year!

I'm already thinking of my st Patricks Day today. What I'm going to make and do. So to kick off March 1st, I'm sharing my thoughts and things I've done in the past.
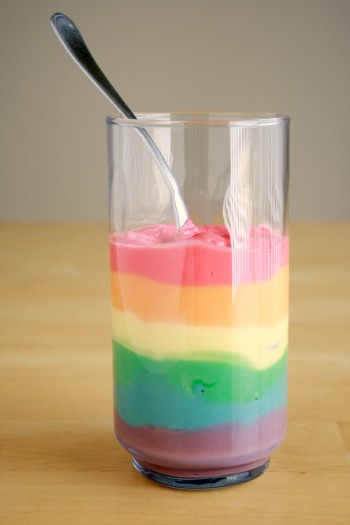
1st off, I want to make these little pots of gold  and maybe this Rainbow pudding. It may end up being jello depending on what my kids are in the mood for.

My mother is the queen of holidays. Her St Patricks Day meals were amazing. I remember green french toast and eggs, green crepes, green mashed potatoes, just to list a few. Mine are much more simplified, mainly because my husband won't eat anything that doesn't look a natural color. He said it weirds him out. I found that out after I made an all red breakfast, including french toast, eggs, and red OJ for valentines one year, he wouldn't eat it... So we have to find things that are naturally the color or close to the natural color....
Two years ago we did green pancakes for breakfast, and because it was a holiday I let Ethan have a green cookies and cream shake! (Dad isn't home for breakfast so I can use all the food dye I want!)

For dinner we had pesto and green pasta (just add green food coloring to the water when you cook your posta), and green lemonade... This passed John's pickiness.. he said the green pasta was fine!

I need some more ideas... if you have any leave a comment!!!

Saturday, February 26, 2011

Felt Four-Leaf Clover Topiary-ish Things Tutorial

Ok, Honestly I don't know what to call these, but they are cute and the perfect addition to my St. Patricks Day Decor.   There isn't a lot of St. Patricks Day decor out there, so I resort to making them. So topiary/standy things/ I don't know what they are, but they sit in the middle of my table and are a perfect center piece.
Materials:
Felt-I used 3 sheets of 8.5x11
Dowels-(2) 12". I cut one into a 7" & a 5". And one into a 6".
Blocks- these are 1.5x1.5
Shamrock templates
Ribbon-Optional
Paper and Mod Podge-optional
Paint
Glue Gun
Drill
E-6000
1. Drill a hole in the middle of your block to fit the dowel. Use E-6000 to glue the dowel in the hole. Let dry.
2. Paint your stands.
3. Mod Podge your paper to your blocks. Let Dry.
4. Trace your Shamrocks on your felt and cut them out. I used different sizes, colors and cut with pinking sheers on some. I did double layers, so it has a front and back. If you opt to not do a back that's fine, just make sure you at least do two of the base that way you have something to sandwich the dowel and ribbon.
5. Hot glue your layers together. When you glue to front to the back DON"T glue the middle, that's where you'll put the dowel.
6. Add your ribbon to the dowel.
7. Now put some glue in the middle of the sandwiched layers and shove the dowel inside. Then you'll kind of shove the ribbon up to so the felt hides the knots.
All Done!
I linked up with
Visit thecsiproject.com


 and

Thursday, February 24, 2011

Easy Decorating

Easiest holiday decor ever. I just add window clings to my white plates. Easy to do, easy to store, easy to change. I do something else with window clings that I'll share tomorrow!

Monday, February 21, 2011

Where's Me Pot O' Gold?

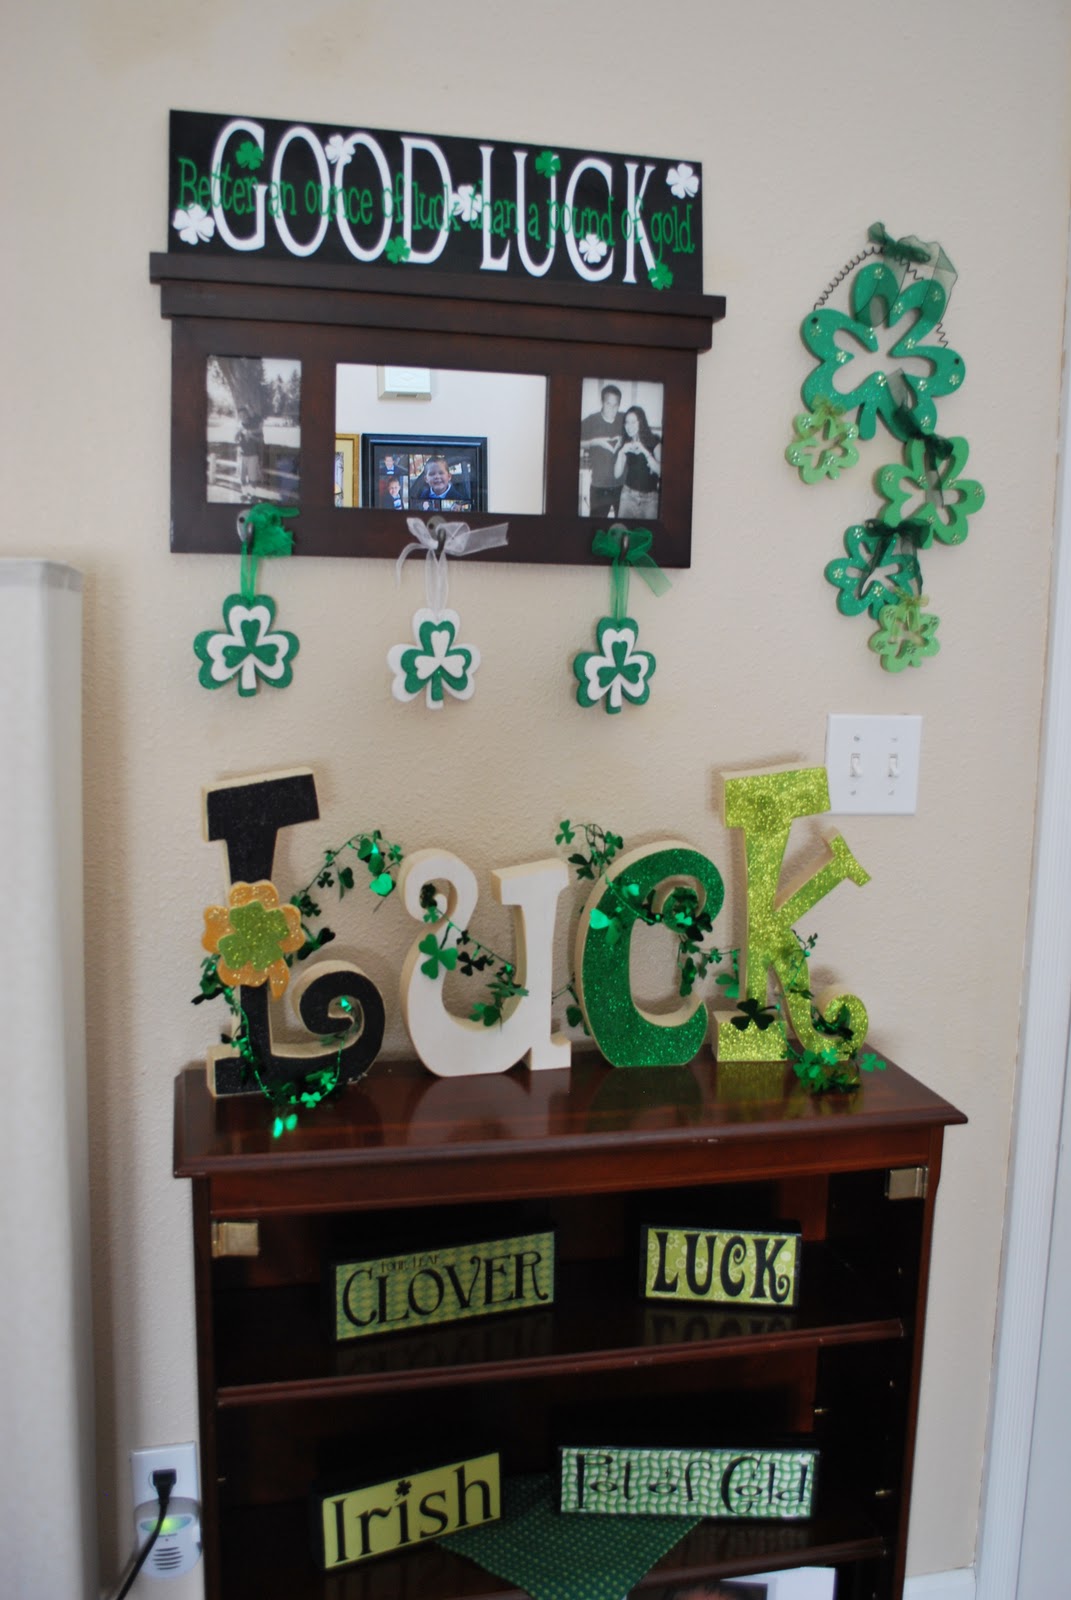
My Valentine's decorations are gone and my house is now covered in green and gold. I changed it from last year. Although I miss my gold tree, I had to fill my apothecary jars with the ornaments.
 I got these cute lanterns from Shopko...  I filled my black cauldron/pot with gold ornaments. I still have my shamrock rock art from last year.
 The back of my Valentine's board finally got a st. patricks day look.   The green quote going through the middle says "better an ounce of luck than a pound of gold.  and of course the four blocks in the cupboard have the valentines on the back.
 I made some pillowcases, got the fabric at walmart.
The back of my valentines trio blocks got finished today. I love how they turned out! A little scrapbook paper, some mod podge and some vinyl. Done.
For any of the vinyl feel free to email or comment. I would LOVE to do it for you!  I shared my decor over at and

 and Night Owl Crating!

Thursday, February 17, 2011

Dual Purpose

To help cut down on all those cute decorations that you have to store. I make most of my boards and blocks dual purpose. I try to keep most holidays together, that way i'm not digging through boxes trying to find that certain thing. Valentines always has St. Patricks on the back. Spring/easter has Summer/4th of July and Halloween has Christmas, that way when that holiday is over flip if over for the next upcoming. makes decorating way EASY.
So...  here are my flipped signs.

 Flipped blocks...

 Flipped small blocks...
And here are some blocks I made this year for v-day and st.Patty's. So one side has Love and the other has Luck.  
I added this post to

Friday, February 11, 2011

A block for all seasons tutorial

Growing up my mom took a tole painting class and made some blocks similiar to these, except they were all hand painted... So this is bit nostalgic for me. Here is how I made mine.

Supplies:
(4) 4x4x4 blocks... (really measures 3.5x3.5x3.5, but for some reason hardware stores call them 4x4's)...
Paint
Mod Podge
Paper cut into 3x3 squares
Vinyl

1. Paint your blocks. I was making two sets so don't be decieved by 8 blocks in the picture.

2. Mod Podge your paper to your blocks. I did all the "christmas sides" then the "home" sides. allowing it to dry in between.

3. Once all the paper has been mod podged and dried. apply the vinyl.
Here are all six sides of my blocks!
**I did revise my vinyl designs a big. The "o" in love is now a heart, the "u" in luck is now a shamrock, the "a" in fall is now a leaf, and NOEL is now snow with the "o" a snowflake... I'll update the picture soon!

I linked to
Related Posts Plugin for WordPress, Blogger...